
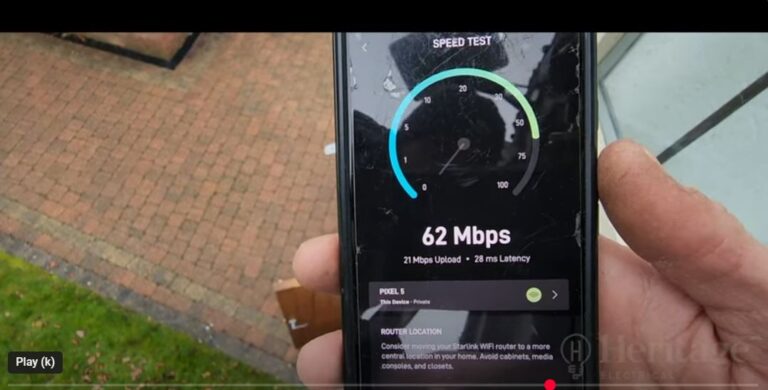
Starlink Installation in Devon
Enterprise Starlink & Ubiquiti Network Deployment on Dartmoor If you

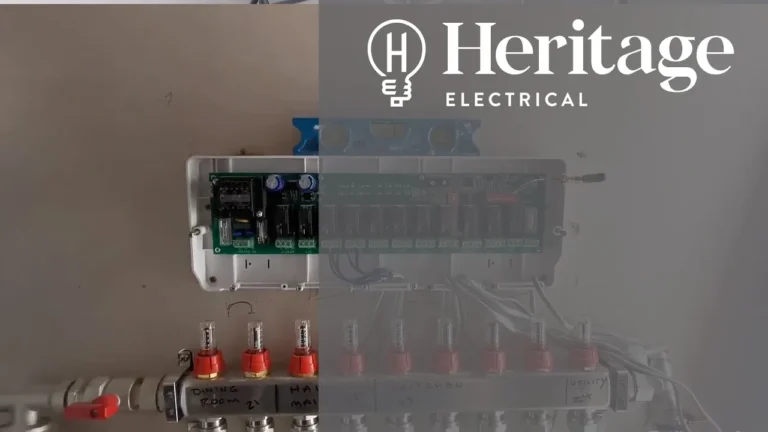
Heatmiser Neo Controls – Transforming a Dated Electric Underfloor Heating System
Take a look at how we transformed an out-dated electric
Heatmiser System Rewire: Fixing Underfloor Heating & Radiator Controls
Project Overview Every so often, a project comes along that

Internet for Rural Areas: Smart Network & Starlink Installation in Dartmoor
Overview Living and working in the countryside has countless perks:

Smart Heating System Upgrade: £35,000 Heatmiser Neo Overhaul in Surrey
A reliable smart system always begins with the basics: good
Optimising Home Networks with Starlink and Ubiquity Dream Machine Pro
Upgrade Your Home Network with Starlink & Ubiquiti Dream
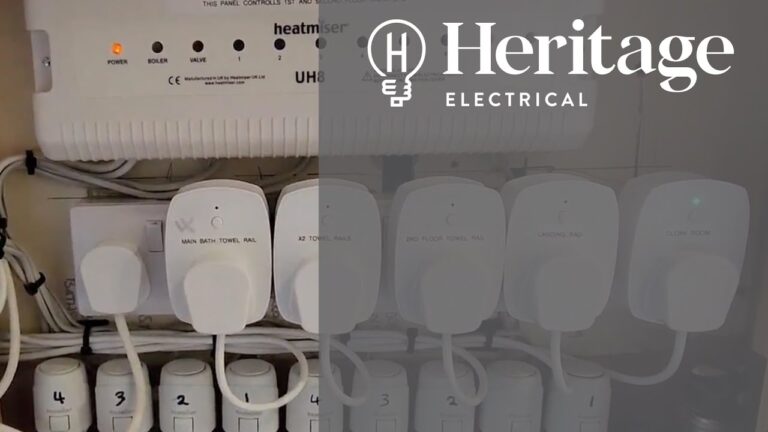
Optimising Heating Control with Heatmiser Neoplugs
Introduction: In a three-story building with a complex manifold system
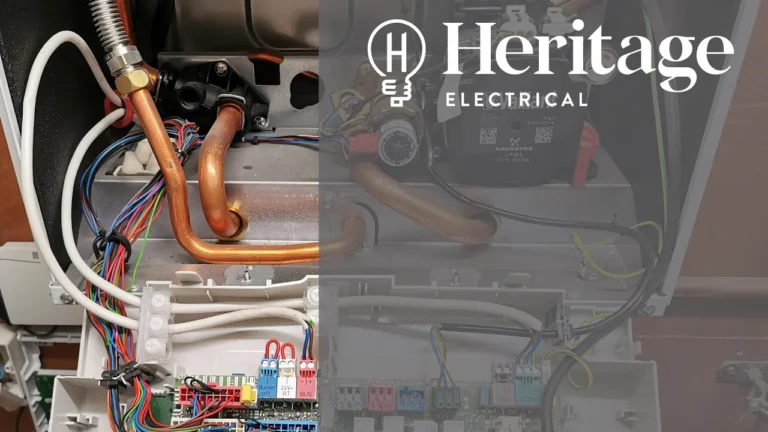
Enhancing Comfort and Efficiency with Vaillant Heating Control
In this case study, we’ll delve into a recent project
Rectifying a Poorly Installed Heatmiser Underfloor Heating System
I get called out to broken Heatmiser underfloor heating systems

Resolving Underfloor Heating Challenges Through Expert Heatmiser System Upgrade
Embarking on a project to address a malfunctioning underfloor heating
