In this post we talk about a large LED tape installation in a commercial premises. We cover what is involved in the installation, and the equipment needed for LED tape to work.
Check out the overview video below, and then read on for more information regarding what type of LED tape to look for, driver types, and control gear.
If you’d like to have a chat about your next project, please feel free to book in a call, we’d be happy to discuss some solutions!
TYPES OF LED TAPE
LED tape voltages
There are 2 main voltage tapes available:
- 12V DC
- 24V DC
In short, the LED tape operating with a higher voltage will produce a brighter output. As a rule of thumb, we recommend using the higher voltage tape, unless a very discreet lighting effect is required. We generally house the LED tape in some sort of enclosure or profile comprising a diffuser strip. This has the effect of smoothing the lighting effect of the tape, but will also slightly dim the output – another reason to opt for the 24V tape. The profile reduces the effect of individual lights being visible on the tape.
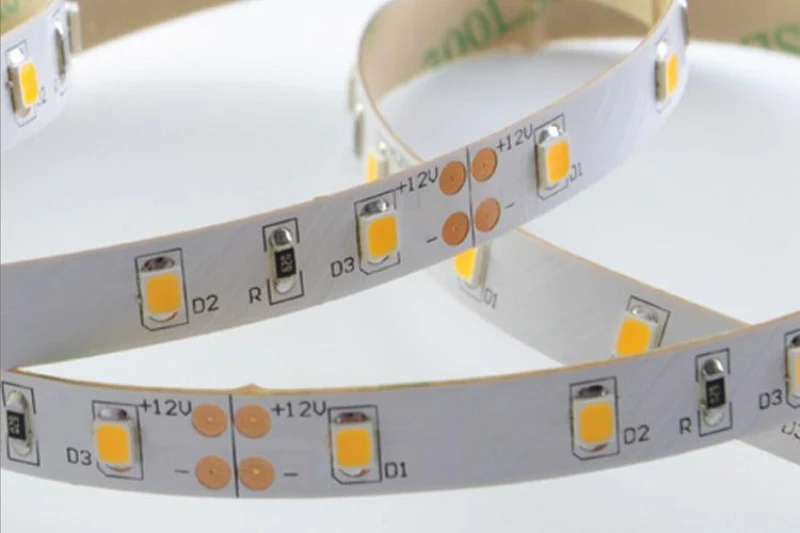
Spotless VS regular LED strip
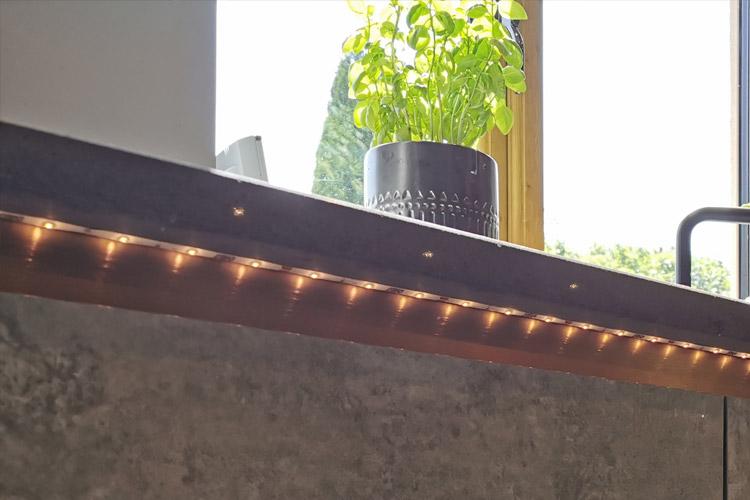
In the gallery adjacent, you will see a marked difference between the density of LEDs on spotless tape and regular tape. This is exaggerated when the tape is not housed in a profile with diffuser. Obviously the spotless tape consumes more power than regular, so you will need to consider this when choosing a driver to power the tape. Spotless will provide a much smoother light output.
Spotless LED tape is more expensive – not obscenely so, but it is worth considering.
Colour and temperatures
For most applications we install tape comprising a single colour, usually white. There are different temperatures of white tape available: for example cool white and warm white, sometimes also described using Kelvin. With the Kelvin scale, high temperatures are cooler whites, low temperatures are warmer whites. For living spaces, we suggest warm white; for work spaces a cooler white often works better.
It’s also possible to get fixed colour, or colour changeable LED strip – RGB or RGBW. This is also available it regular and spotless versions, the spotless being quite a bit more expensive per meter than, say, a fixed colour. Please bear in mind that extra cabling and control gear is required to access the colour changing, and therefore extra cost considerations.
Take a look at the RGB lighting tape in action, being controlled via the app.
CONTROL GEAR REQUIRED FOR LED TAPE INSTALLATION
LED drivers
There are 2 types of LED driver:
- Constant current
- Constant voltage (12 or 24V)
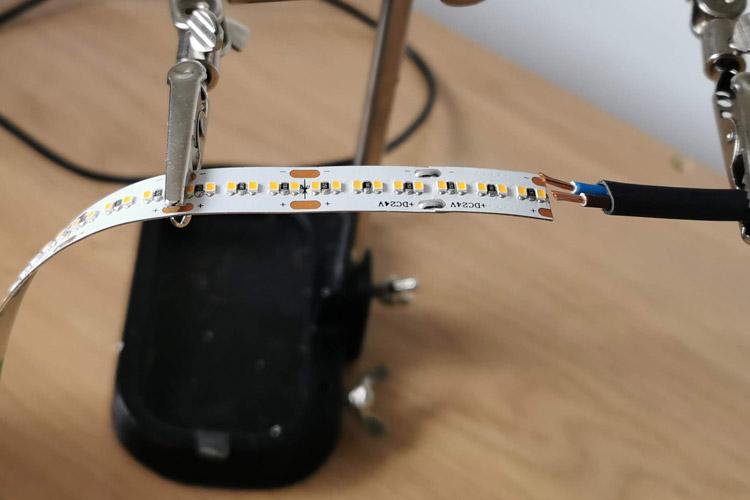
LED strip required a constant voltage driver. It is important to ensure that if you use 12V tape, you use a 12V driver, otherwise you will fry your tape! The driver’s job is to transform main 230V AC down to 12 or 24V DC depending on your driver. LED strip cannot be directly connected to mains AC.
The driver will have a maximum power output, e.g. 150W: your chosen tape will be labelled with it’s power usage per metre, e.g. 14.4W. It is therefore a simple calculation to work out how long your run of tape can be before the driver becomes overloaded: 150/14.4 = 10.4m. That being said, it is good practice to keep your driver perhaps 75% loaded as a maximum. 150 x 0.75 = 112W. 112/14.4 = 7.8m. There are other considerations when calculating maximum tape run and distance from the LED driver, such as volt drop… that’s why we’re here to help!
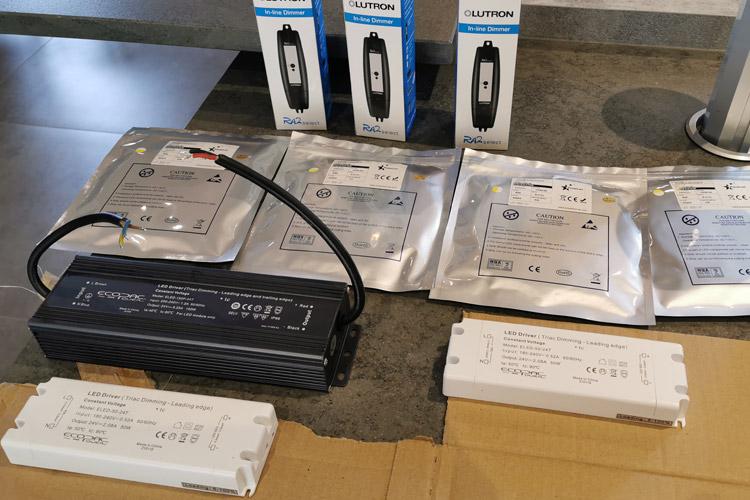
Dimmable drivers
There are 2 types of dimmable drivers:
- Mains dimmable
- 0-10V
Mains dimmable can be dimmed via a compatible standard dimmer module: in this instance we favour using something like a 150W Zano module mounted to a Click Minigrid plate.
The 0-10V driver type is switched at 230V, with a separate 0-10V input to control the dimming. In the picture above you can see a big navy blue driver with a 0-10V dimming input. we used a Lutron RA2 select 0-10V module which took care of the switching and dimming of the LED driver remotely in one unit.
RGB/RGBW controllers for colour control
If you decide to install colour-changeable LED tape, you will also require a RGB(W) controller to allow you to change the colour. You will then either require a suitable wall mounted control, or an app to control the colour where this is supported. In the video example above, we’ve used Ansell Octo RGBW controllers downstream from standard LED drivers to allow remote control via the Octo app. These controllers take either a 12 or 24V input, then require a core per colour, also a +ve (RGB would therefore require a 4-core cable) to be connected to the tape for full colour control.

CONTAINMENT FOR LED TAPE INSTALLATION
Metal LED strip profile
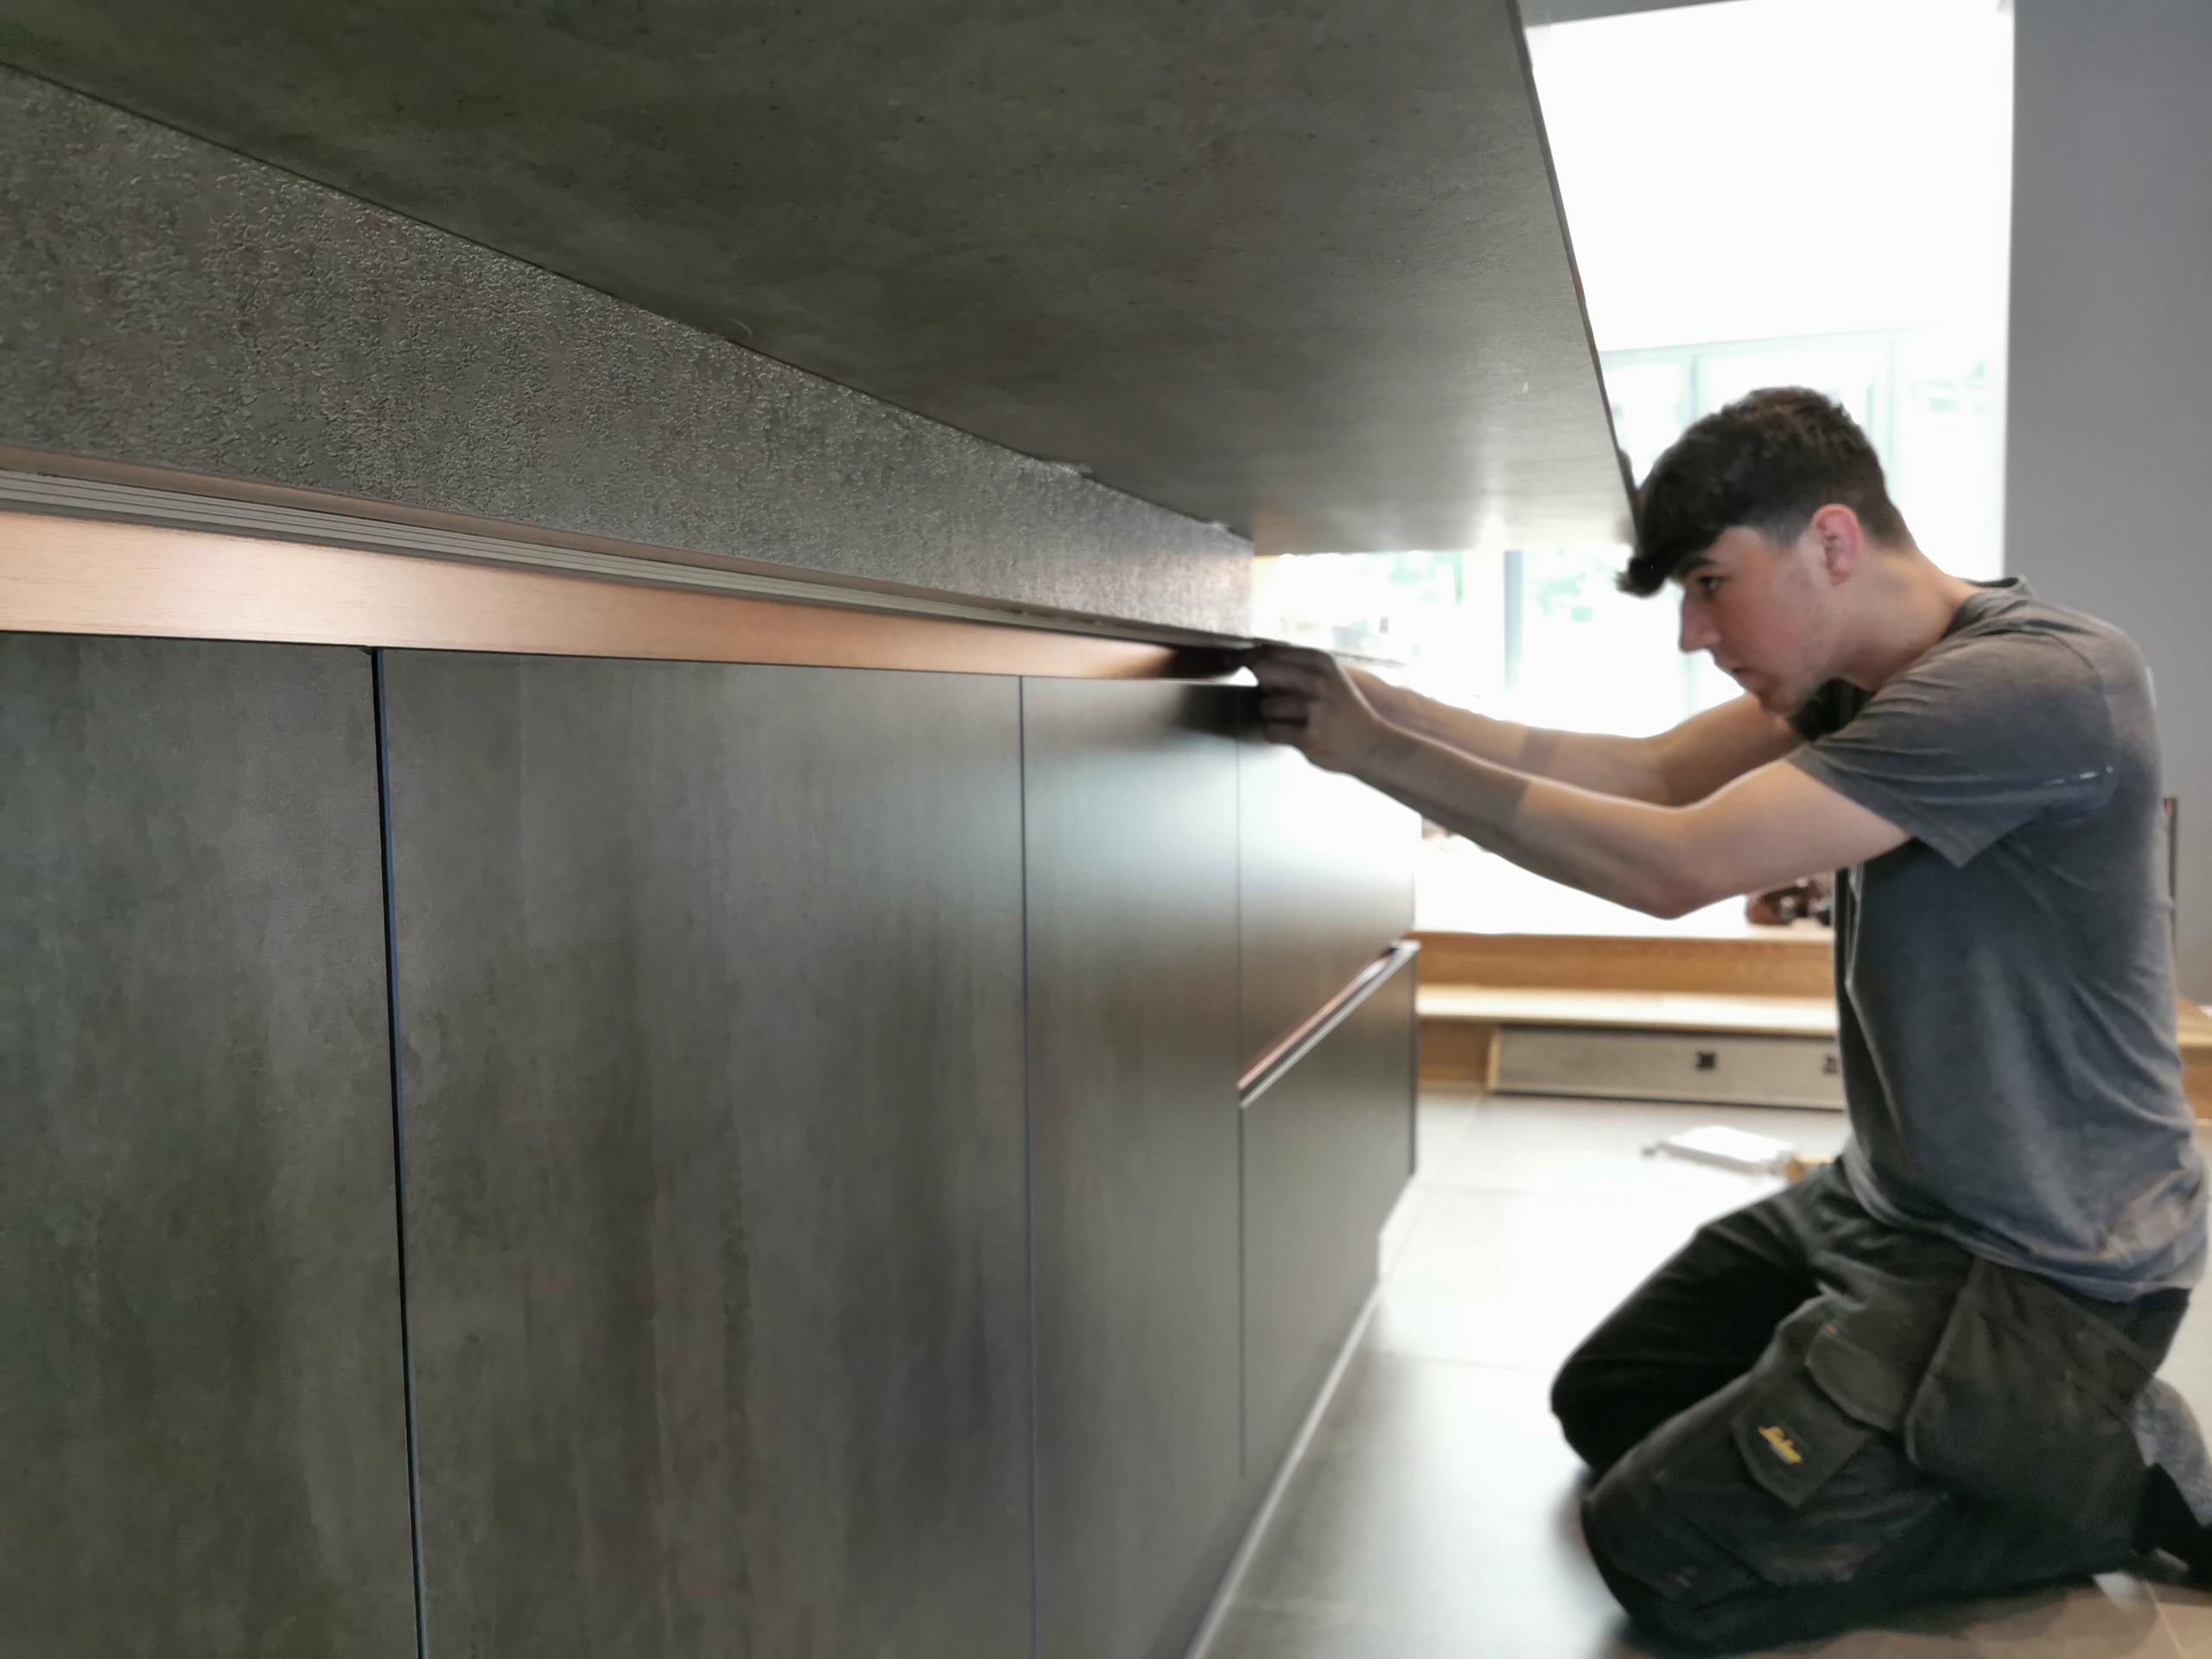
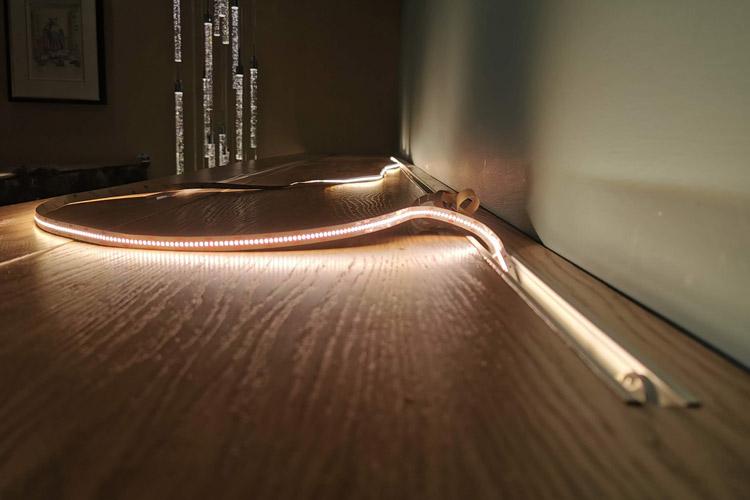
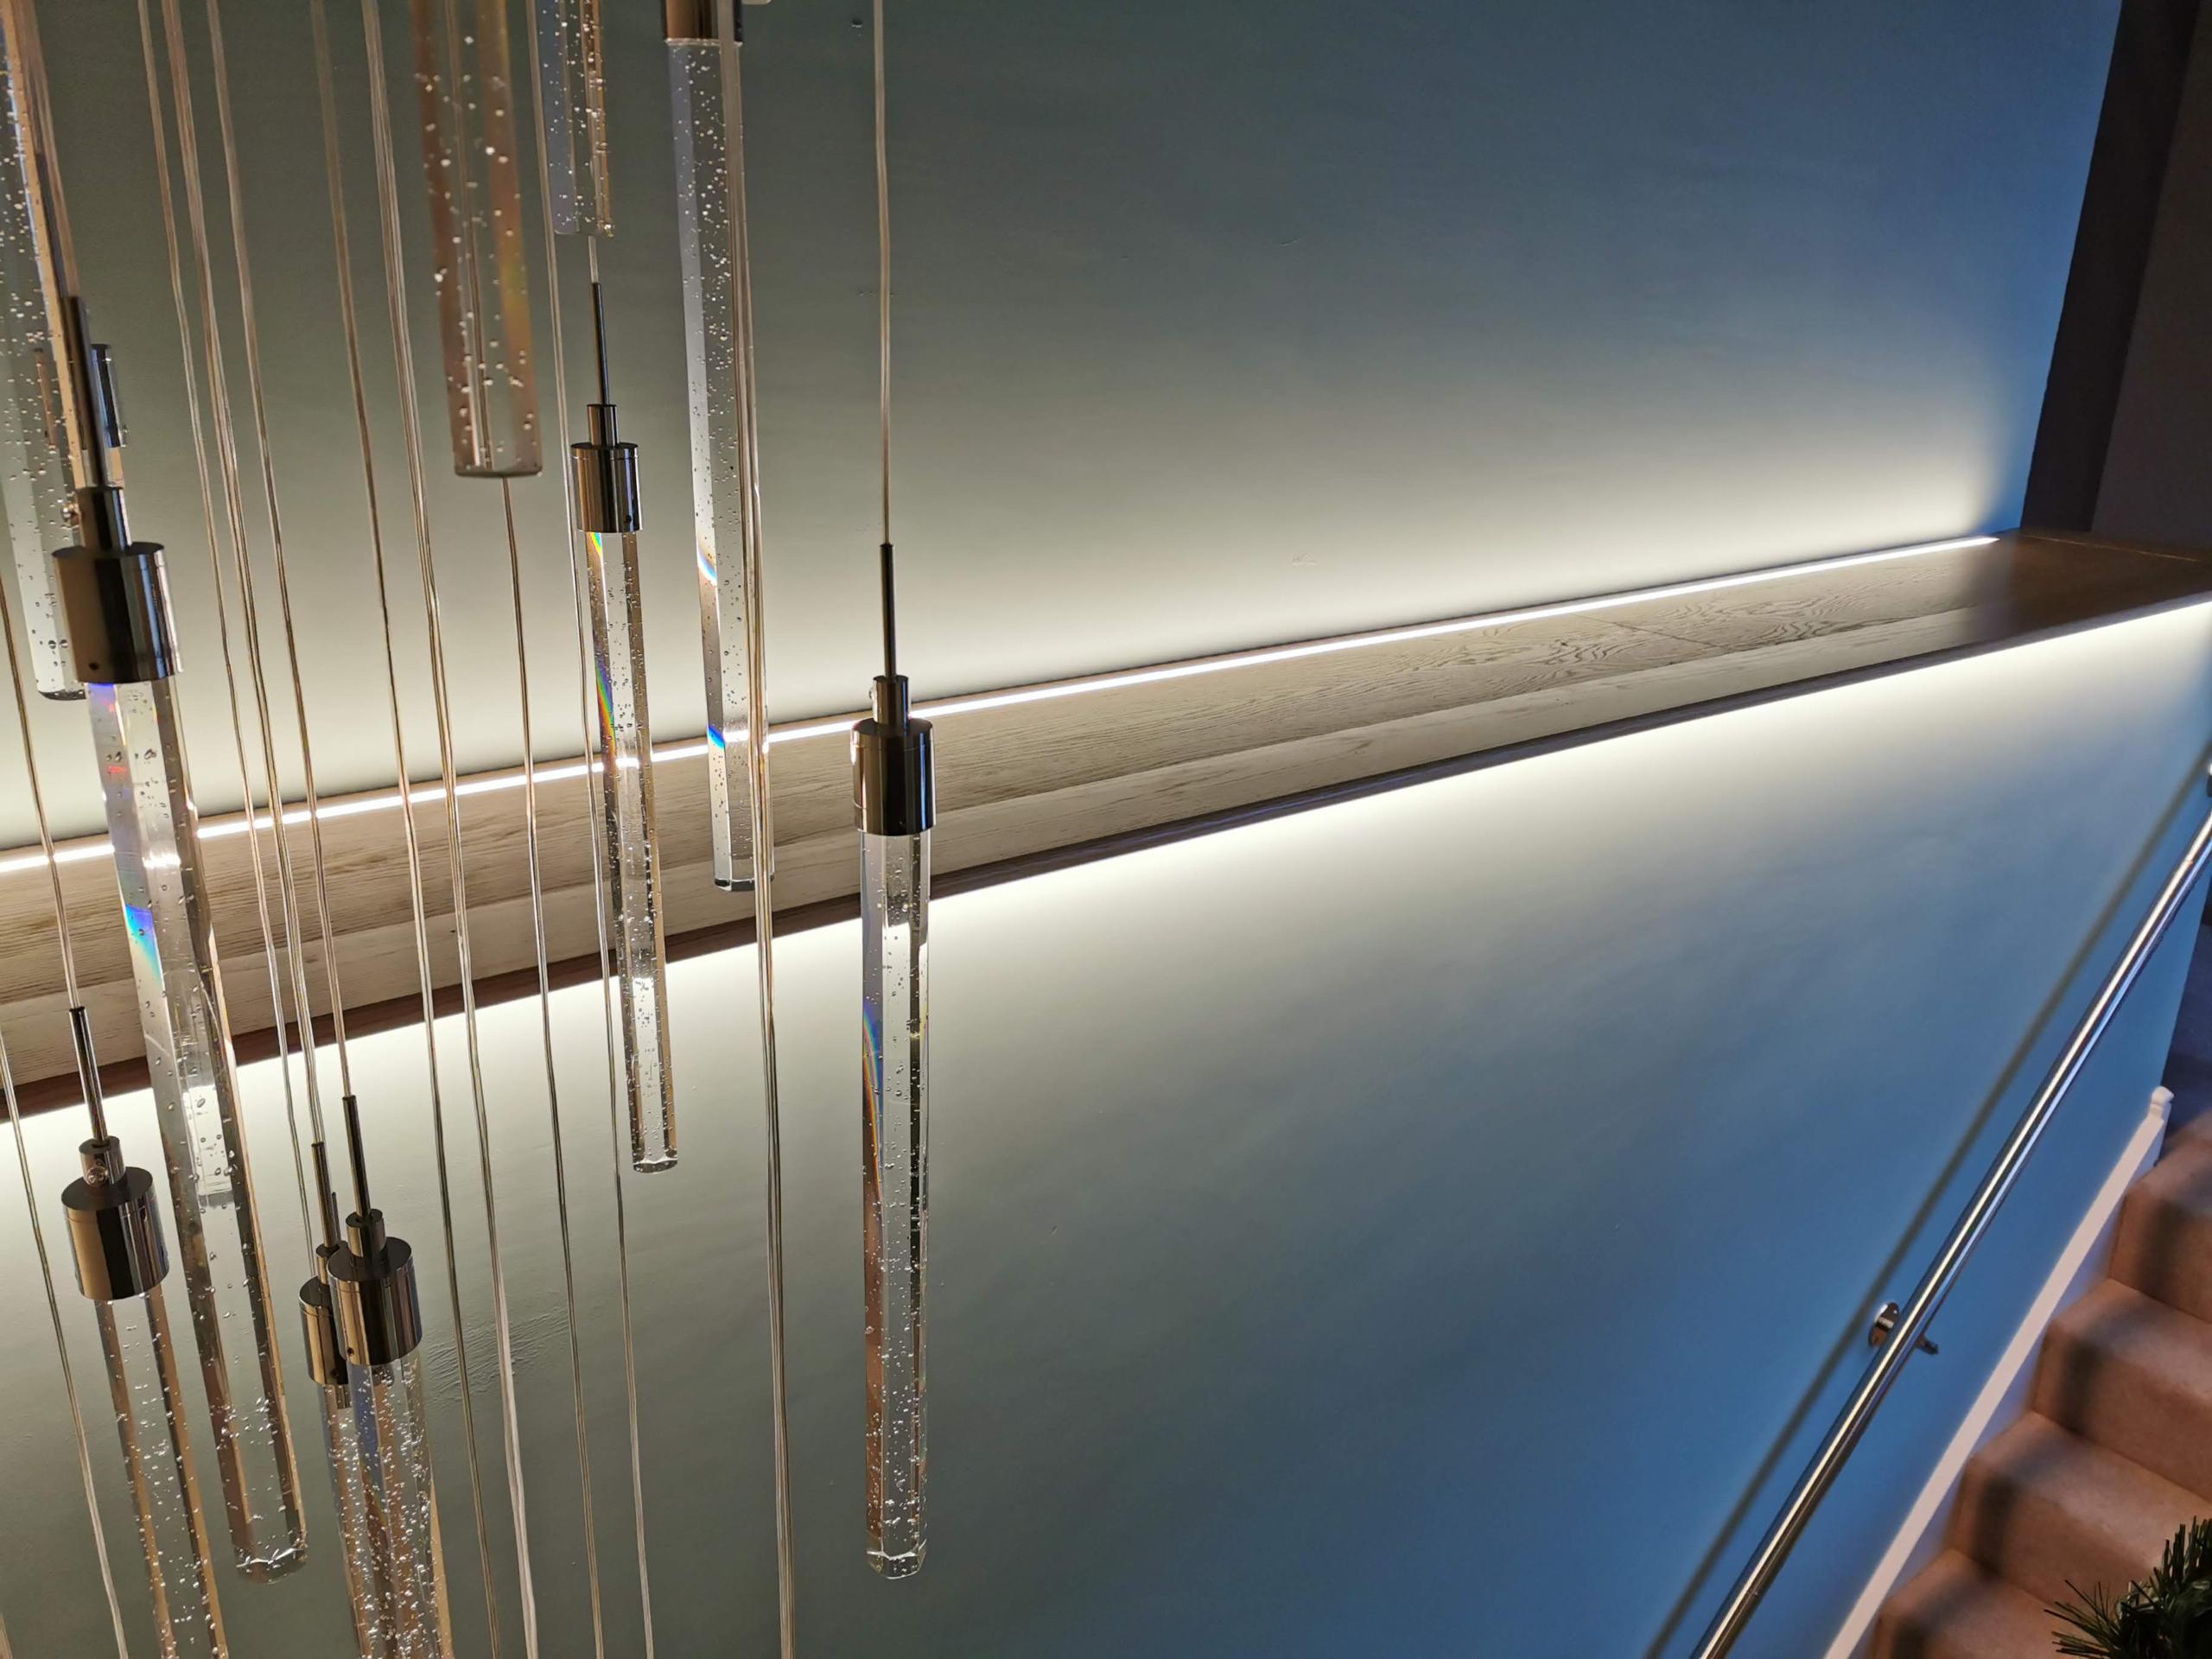
Sticking LED tape directly to a surface without suitable containment will result in a very amateur finish. The detail of the tape can be seen when the tape is not on, and the light will not be as smooth and diffuse as it could be. For this reason we make use of 3 different types of profile:
- Surface (least desirable option, but good as a retro fit option with minimal mess.)
- Recessed (e.g. we can router this into the underside of kitchen worktops/cupboards etc.)
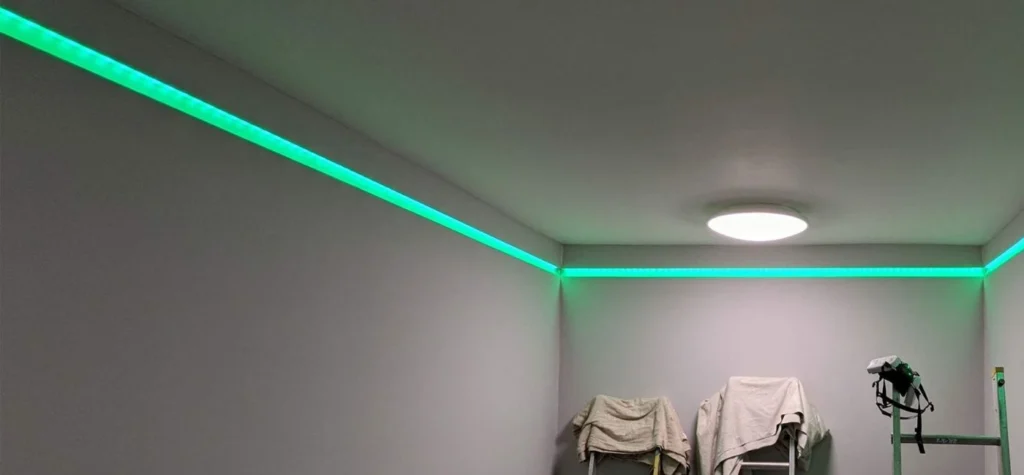
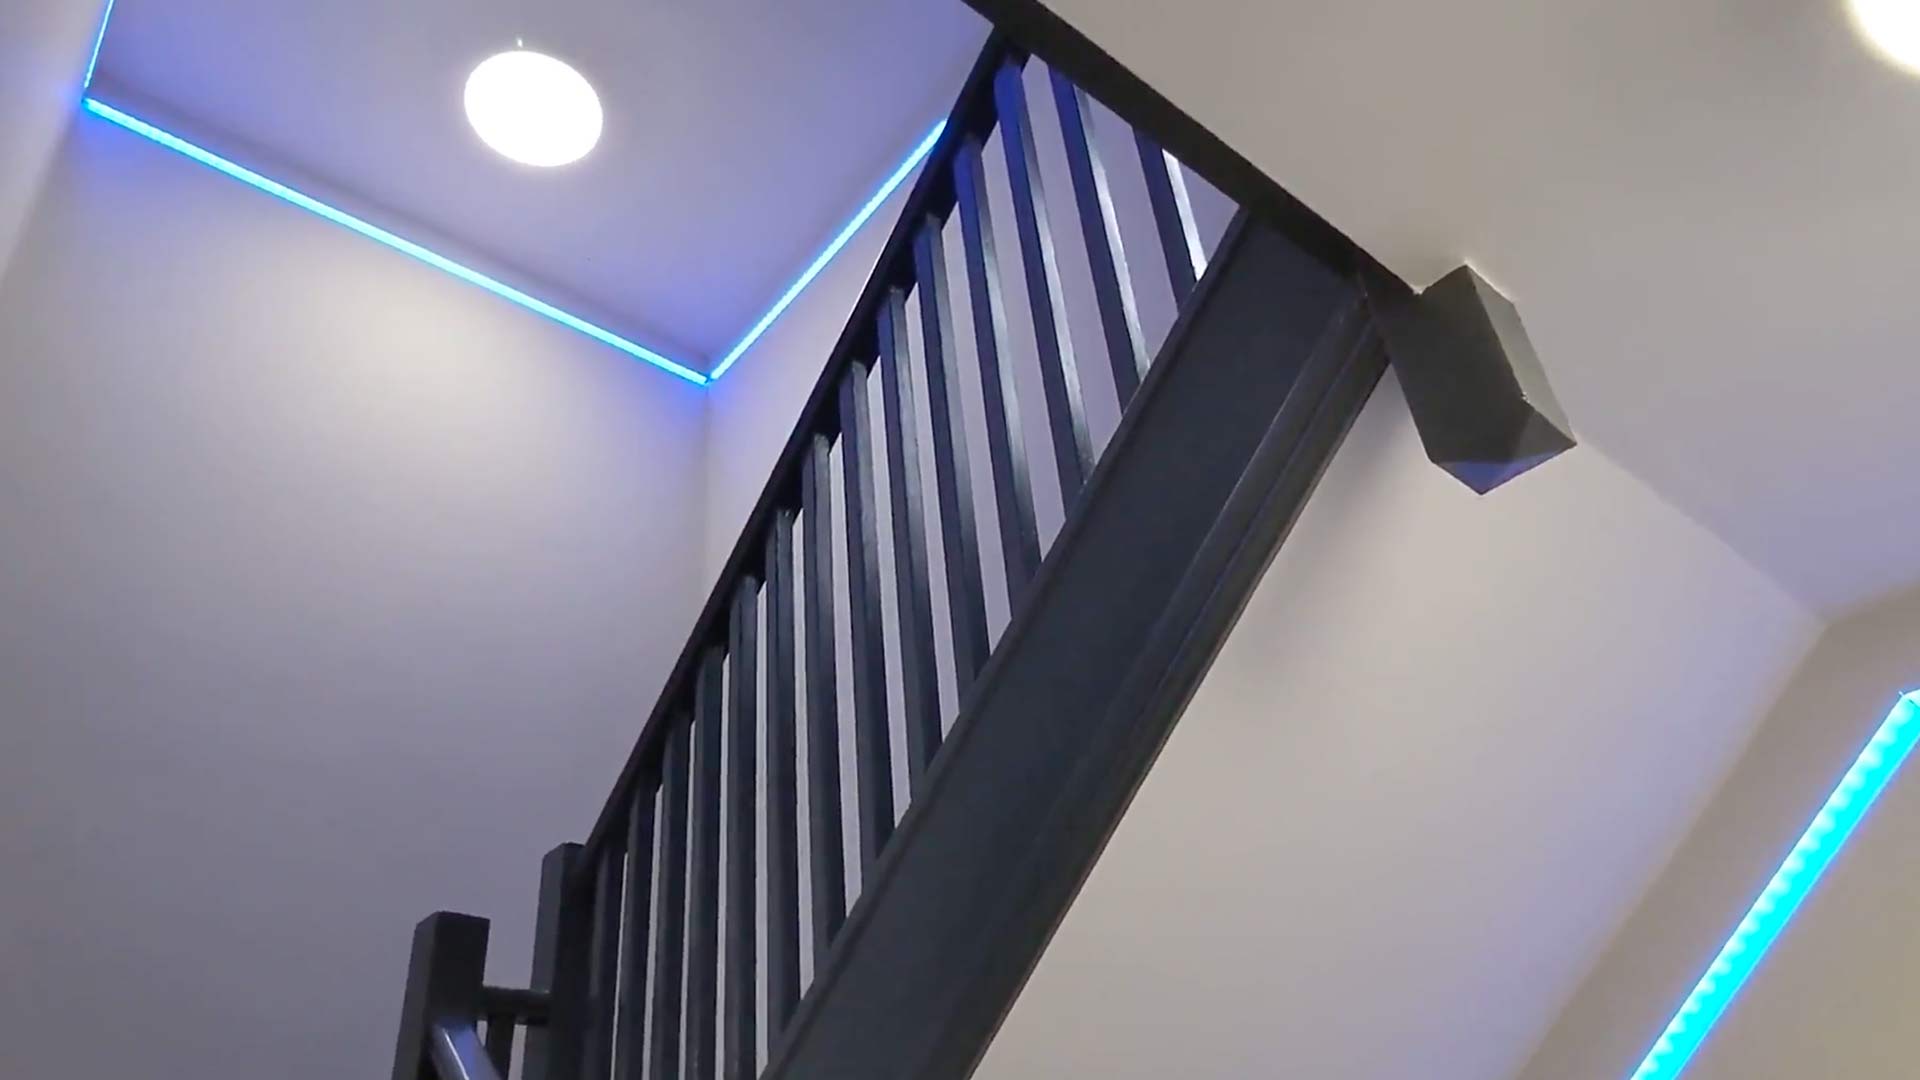
- Plaster in (this will ultimately look like it forms part of the wall or ceiling.)
See the adjacent slideshow for examples of each of these profiles. In the video above we’ve used the plaster in option. This is most work out of the three for installation, and will not be relevant for every LED tape install. However, the plaster in option gives an amazing finish.
BESPOKE COMMERCIAL LED TAPE INSTALLATION EXAMPLE
Ansell Octo
As mentioned above, in this example we’ve used Ansell Octo modules, combined with the Octo app. Our customer required all runs of tape (8 in total) to turn on and change colour simultaneously. These 8 runs were split between 3 drivers, hidden away in the loft, behind a downlight, and in a purpose built cupboard. 3 RGBW controllers were used, and paired with the app to allow the tape to be switched, dimmed and colour changed via a phone.
We also installed several Octo PIR sensors so that the tape would illuminate automatically when any PIR detected presence, on any floor of the building.
Lighting control via the Octo app
The Octo app itself allows for scenes to be set up which once triggered ensured that all the tape would come on simultaneously and with a consistent colour. Animations can be set up: in this case we can use animations to have the colour palette rotate slowly once illuminated.
The app is also used to administer options such as the duration of illumination after the PIR ceases to detect presence.
If you need lighting solutions designed or fitted, please feel free to book in a call with us so we can discuss your project.
